I just bought a new detector from Russia, it’s custom built based off the Tesoro Lobo v1 17,500 Hz 4 Pin Delta connection and now I need a coil for it. Was thinking of getting a 12 x 10 Detech because this is what Aleksandr the (Rusky) said works the best and is what he claims are good coils and uses most of the time.
So I’ve picked out a Detech coil from a store on eBay for a couple of hundred bucks but W.T.F. do all those acronyms mean that are written on it? It has S.E.F. and W.S.S. (wide scan ???) maybe, I’m not sure. I did have a search around on the net for the meanings of them but with no luck. So if anyone can help out here, I would appreciate it very much and let me know what your thoughts are on these Detech coils please.
 L.L
L.L
1 Like
Symmetric Electromagnetic Field
Wide Scan Search
2 Likes
Hi LoboLover, I’ve just bought one of those too, going to call it the ROBO. I got the populated board only. Would be interested in how that coil works out for you.
The listing came with a profile of the intended coil and I’m actually right now procrastinating CADing that up into a coil former I can 3d print. If it works out alright I could make more of them.
1 Like
CAD’s gone well, I could generate a coil former any size I want, if only I knew what size to make it. I think the picture that was provided is more for illustrating the connector pin configuration, but I liked the shape so that’s what I’m making. I’ve read a bunch on how to make a coil that might not be terrible, it’s clearly an art and a science not suited to all.
Are people interested in hearing how this build comes together? It’s my current understanding that this is a modified bootleg of a great 70’s machine long since superseded but not actually released by the designer, so I would understand if you want me to come back when I can afford the real thing. I’ve been waiting for that for 20 years though, thought if I don’t do this I’ll never start. That’s not entirely true, I did make a BFO detector from a TV once, actually found a pair of glasses in the lawn with it. I’ve gotten distracted. I’ll post a worklog in a new thread of my coil building if it works out, as for what it’s being attached to I’ll wait and see.
2 Likes
Hello Pikefish,
Sorry for the late reply for I have only just returned home. You must of bought ROBO from that Russian guy on Ebay I figure, he was the only one selling them. I’m really glad you have one too.
I guess you will need to mount it in a box, set up the penetrometers and frequency for it. I’m excited for you and me because now I have someone to talk with about it. My first question is how do you make it work? No seriously the Russian guy gave me very little heads up on the set up and how all the switching is arranged. I’ll show you what he sent me in an attachment, think I’ll ask him again to explain it a little bit more in detail.
It sure seems you are very knowledgeable about this detector and quite handy with the computer and 3D Printer too, these are my thoughts. Please tell me you also own an oscilloscope and can tune in detectors. We must talk more Lobo and Robo together soon so I can get it going and have a feel of it’s performance. I would truly like to understand more of this detector, so could you please bring me up to speed with what you know.
I have only used the Standard 10" elliptical coil from the Lobo on it and only got about 6" in air testing. I will get the Detect 10 x12 for it, I like the stocky build of it. Then again I don’t know the switching so how do I set up the GB. Please send any information you have on this detector and post pictures of your coil build too. I’m very interested in what your doing with your detector and wish to get my MD working properly.
B.T.W It’s really nice that you have joined up with us and I’m glad you did. You will find the people here are more than willing to help a follow Detectorist or Treasure hunter and can make available unheard of technology if ever needed.
Best Regards’ L.L.
@Pikefish @LoboLover
If you guys wouldn’t mind staying public with this discussion, I for one would be very interested in following the progress.
2 Likes
Hello Mudwiggle, Yes of course we can open this discussion, I didn’t know that we weren’t. I’m not really proficient with the computer and was unaware of how to change any of the settings. Please guide me through what I need to do at my end. Have you any ideas on how to use or understand the schematics and switching of this detector? I have the black one above and all the Russian Dude sends is the schematics and tells me too get a ferrite rod from an old radio to set the GB.
H.H.
L.L.
1 Like
This last week I’ve been a bit slowed down with a cold, but there was progress. I told him of my plans to build a coil and asked if he had any more detailed specifications for the coils he’s already found to work well with this unit, turns out he did:
TX - L 1.33mh, 11 ohm / wire 0.28-0.32 65 turns (preferably thick wire)
RX - L 10.9mh, 50.5 ohm wire 0.2-0.22 170 turns
Coils 10 x 5 inches, elliptical.
The small number-ranges are diameters in mm, both work out around 3.5mm total.
So I went and dug through my shed to find the nearest sized wires I had available for repurpose, simulated it’s thickness and printed a corresponding elliptical winding jig for it. Last few days have been upgrading my old wire spooling device to do a much neater job of getting wire onto standardised printed bobbins. I have a very large stock of old filament to spend. Once I’ve loaded those I can wind up these coils and embark on graphite shielding. Then I can assemble the rest of the unit and test it out, if it works I’ll finally model an actual housing for them.
It’s my first time building a probably decent detector, but I’ve got a relevant background and done a bit of research. I don’t now of anything exceptional about this particular machine’s operation, it seems to me to work like a fairly normal VLF. I think I’ve got enough information to do it’s initial tune up, from the listing and from correspondence. You can still find his listings and scour them for the almost rigorous enough tuning guide https://www.ebay.com/itm/183777004268. If I get a good result I’ll write a bigger guide. An old laptop makes a serviceable oscilloscope when you’re looking at audible frequencies like this, you just need an attenuator to keep it from blowing up, and be careful of the ground levels, ideally run it on battery and ungrounded. Most of the trimpots would benefit from adjusting for maximum Tx output for each coil, and the Tx tank capacitors are another bit of tuning you can maximise for each coil.
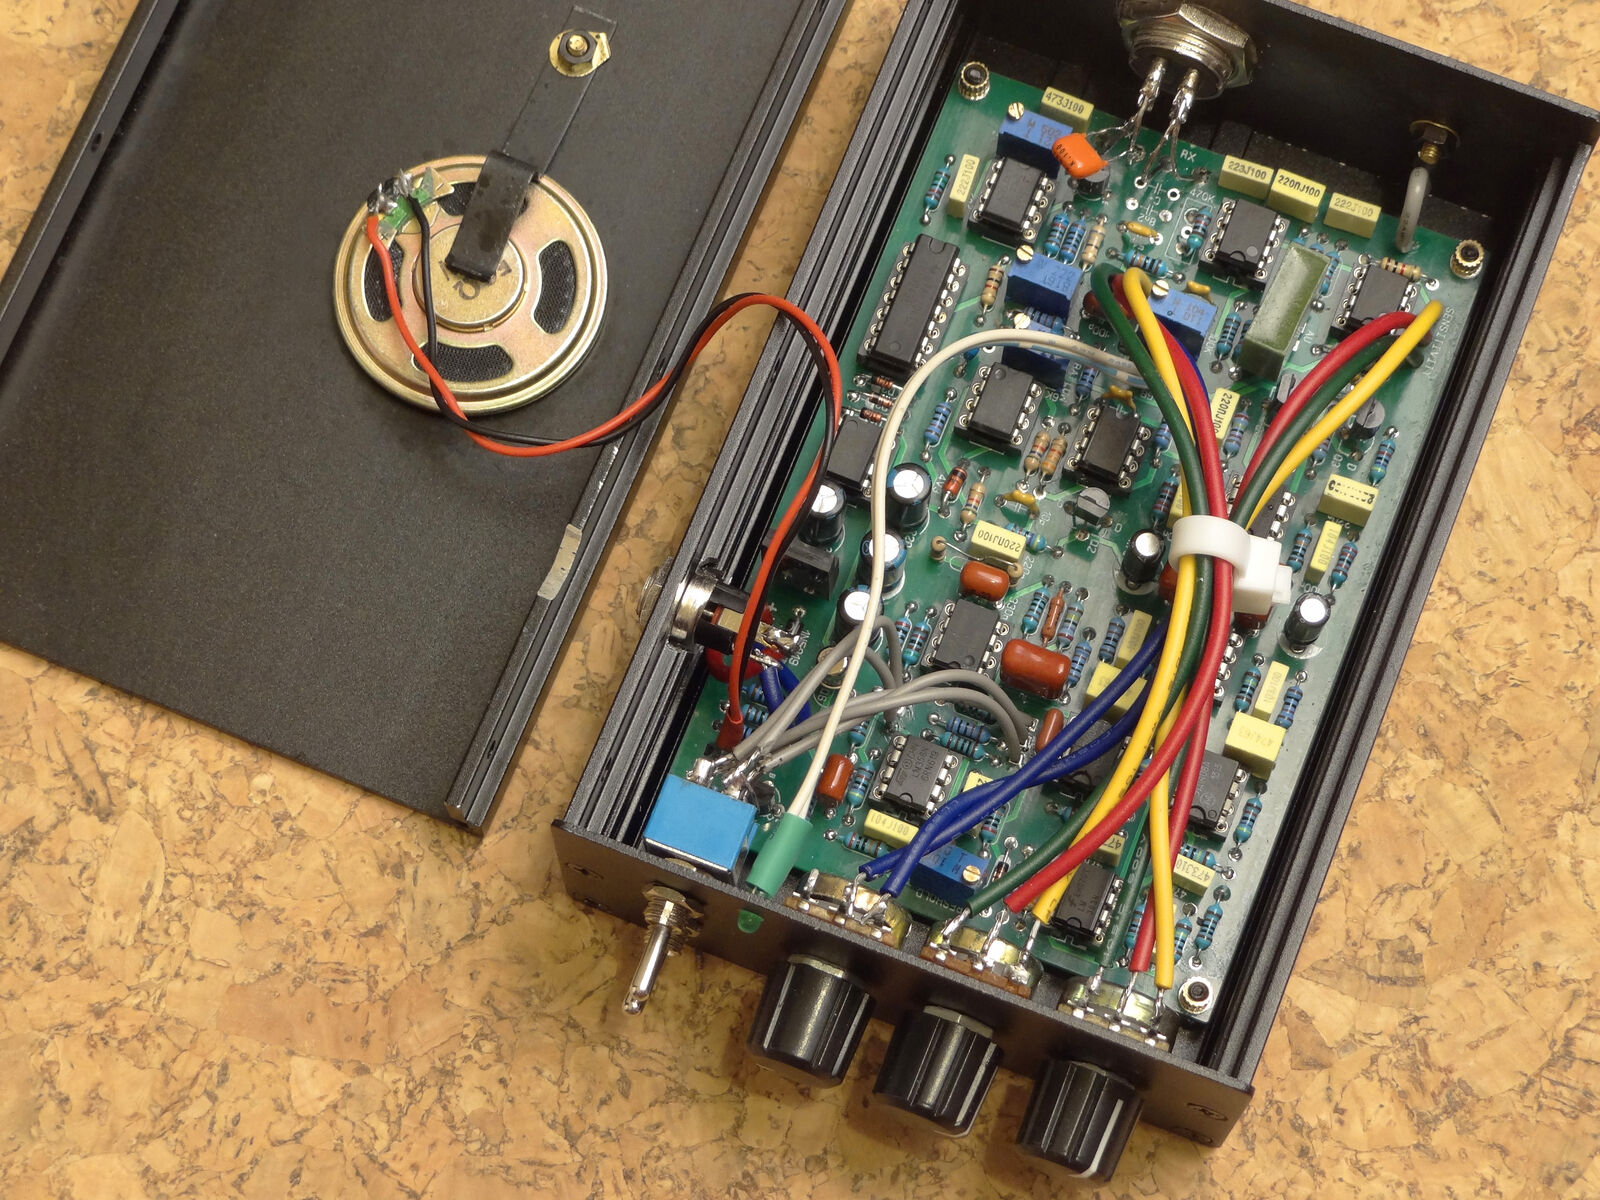
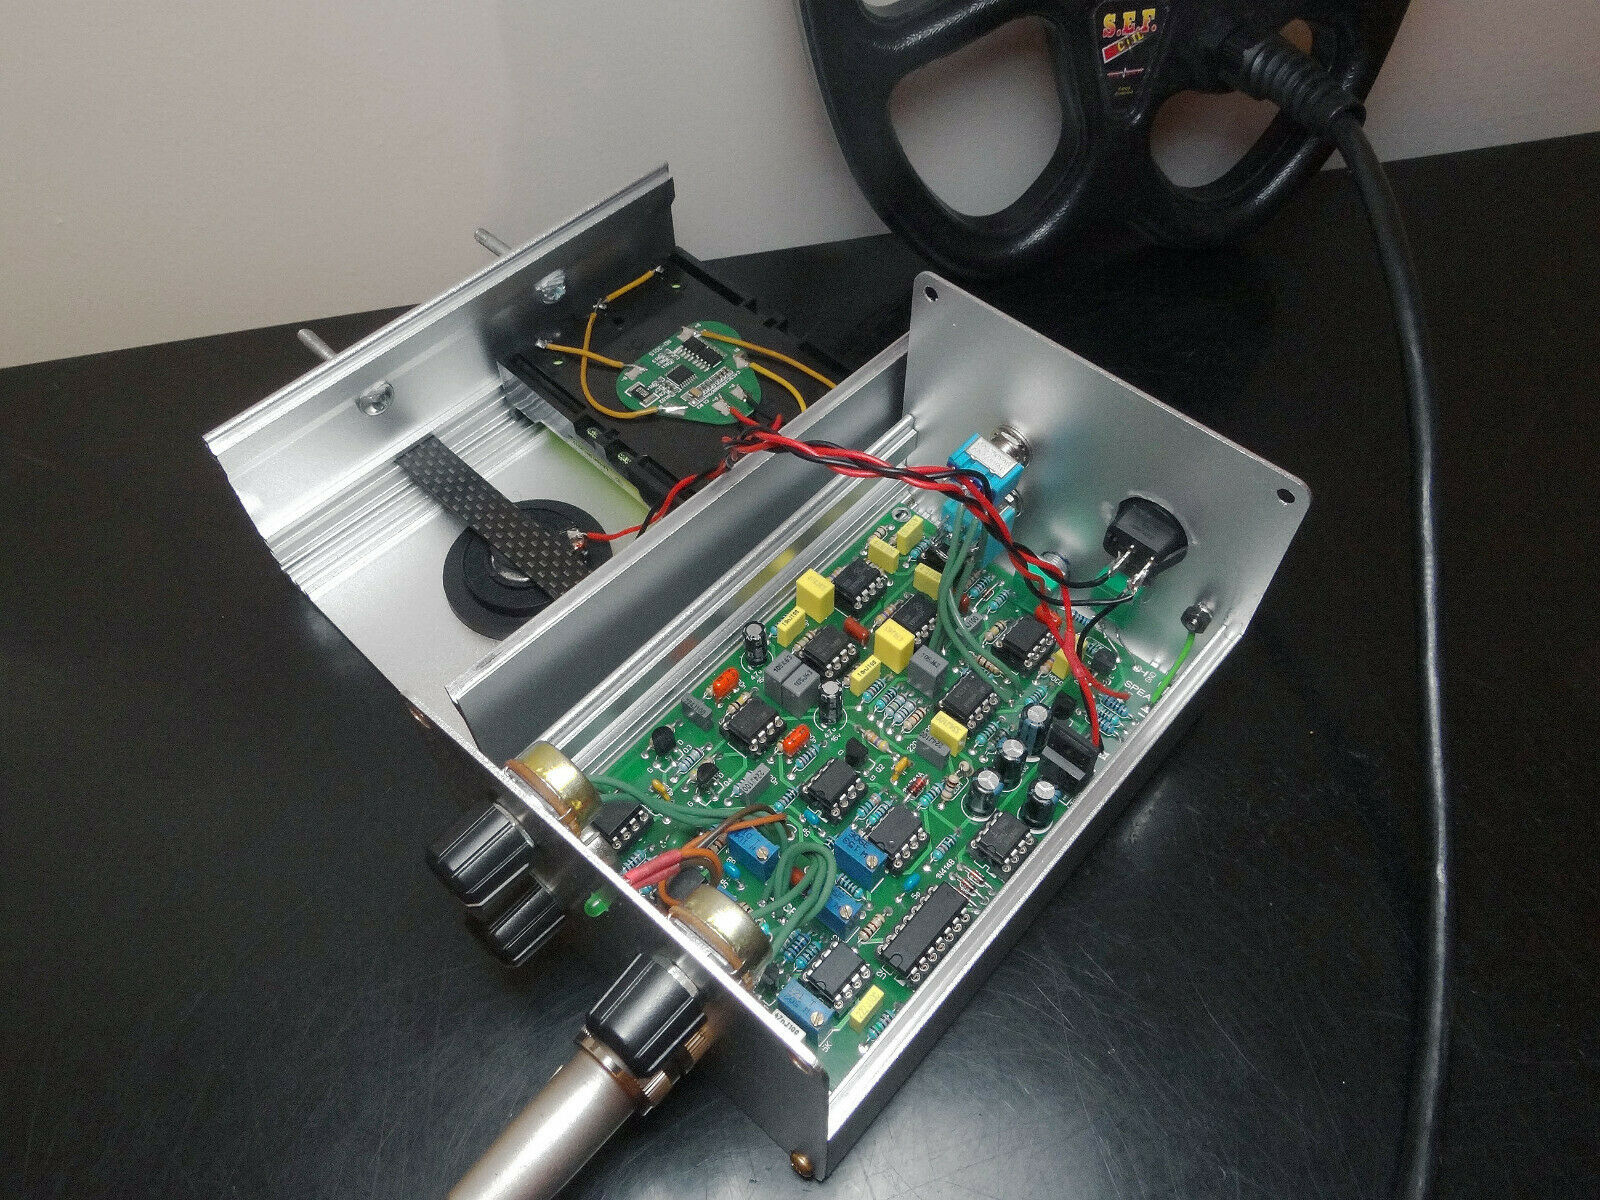
That last picture you’ve posted looks like it’s got some sort of digital processor/display on the audio output. Fancy!
2 Likes
Hi Lobo, No, you’re all good. Just hoped it would stay in the forums rather than go to private messaging - that’s all.
Only built one detector to date and that was a BFO back in the 70’s as a kid. Far cry from the machines available now!
1 Like
This was the reply from Alexander along with the diagram attached. I’m still puzzle on how the switching works and he used this detector for a little while, so I guess it was tuned in to the Detect 10x12 and working good. I think what your seeing on the Russians machine is a built in battery, he mentioned to me earlier this was his intention. I think so anyway, I use one from Ebay which come in different sizes and use it externally.
If you think you have the right recipe and ingredients to build this coil of yours and all works out in your favour. What’s the chances of building another so and I can buy one of your supper cool coils ? Then we can keep the money I need to spend in the country.
L.L.
.https://www.ebay.com/itm/Portable-DC-12V-1800-20000mAh-Super-Rechargeable-Li-ion-Battery-Pack-AU-Adapter-/223492620502?var=&hash=item340932c0d6
Hello.
Detech SEF 6 * 8 I tried this year. Very good in littered areas. And much lighter than 10 * 12. So now 6 * 8 is my favorite.
The soil balance is set once, in Allmet mode. It is necessary to rebuild from the ferrite (a rod 5 * 1 sm) from the old radio.
Ferrit is a universal benchmark of soil.
You do not need to adjust the balance every time.
The setting is very thin, you need to rotate the knob quietly. It is rebuilt for about 10 hours on a scale.
I enclose the circuit of switches.
Yeah that probably is an internal battery and all that is just charge controller. Would be nice to run the audio into a FFT spectrogram though so you can let it scream every blip but not get your ears de-sensitised, if my phone had an input I’d give that a try some day, must be an app for that.
This coil I’m building, I don’t know if it’s a measured approximation of the recommended existing detech coil, or Aleksandr’s own design/trial and error, but I’m doing it different enough and the design is fundamental enough that there shouldn’t be any IP stopping me selling them or others if they work, but I wouldn’t assume my first coil to work any better than a detech unit of comparable size when tuned in for maximum Tx.
What I think he’s saying there is this:
Detech SEF 6*8 is good because it’s lighter, seems he may have tuned your unit with that coil.
One should have to adjust the ground balance trimpot only once per coil [the external potentiometer changes the same thing, the trimpot is just to get the right magnitude of effect available on the pot]. Toggle the switches so they’re not discriminating anything, allmet, as seen on the switch diagram [I think that means SW1 in the middle position and SW2, I’m not sure which side to throw that one, try it either way and if turning the discrimination knob does anything with metals nearby, it’s probably the other way.] Get a 5cm long 1cm diameter ferrite rod, like those found inside analog radios or bought from jaycar, to simulate some typical ground, and position it close to the coil. [Adjust the pot to about halfway I guess, so you can increase or decrease the GB from where the trimpot sets it to, I’ve not done this before but it seems to make sense.] Adjust the trimpot until the ferrite is not detected anymore, GB setting done, tweak it with the knob very gently when in the field. [If it’s too delicate you could use a smaller value potentiometer there and repeat setting the trimpot.]
I think it’s currently set to cut out the ferrite when the pot is turned to about 10 o’clock on the dial.
That seems fine, good amount of room either side. If you can turn the gb pot to make such a ferrite disappear somewhere around the middle of the dial then your GB is set up fine.
Today I finally got all my coil winding gadgets made and wound a beautiful ellipse of 65 x 0.35mm copper, loomed with cable ties until I’m ready to tape it. I need to purchase a theoretically usable graphite binder substance tomorrow, once I determine what one.
1 Like
Hello Pikefish,
It’s been awhile since our last chat, so I hope all is going well for you. Did you ever complete your coil build? I also still have the unpopulated board form the Russian guy for the old style Lobo, you can have it if you wish I don’t know anything about putting one of these things together, just sent me your address.
I will also send the detector I got form Alexander for you to try out with your new coils if you like. Don’t worry I trust everybody except the guy who stole Cleggie’s gold in ChCh. Maybe you can get it to work better than I can, I just need someone to show/tell me how it’s tuned in and if you/they think it’s any good for gold hunting. Talk to you Later, Bye L.L.
Ended up on hiatus over winter, stalled when I wasn’t able to print the bottom section of my coil chassis without it warping catastrophically, needed to put together a bigger heated bed. Eventually got that done and ran the print off about a week ago, need to clean it up and stick it all together and see how balanced it turned out, plan on fine tuning the balance by moving around a small piece of ferrite and sticking it in place, that’s often what is done commercially. I think I’ve pretty much forgotten most of what I’d deduced about how to tune it up, should have written more down back then, but it might come back when I’m at the bench. I aim to give it a crack some time in the next few weeks. Got a project I need it for in this town but also got plans to move away, so got to get it done soon! I got about as far as I could without the coils properly mounted, it seemed like the electronics was performing like it should be, but if it doesn’t work out I might be interested in trying some of your compatible kit. Does that unpopulated board have all the components with it, or do they need to be sourced individually too? If it’s just a soldering job I can do that, would be keen to exchange it for one of my heads if they’re any good, but if it’s just a PCB it’s going to cost more than buying another populated board, to get all those components sourced and delivered, might take it on anyway though.
Cheers for the follow up, I don’t know if I would be able to confirm it’s viability for gold, having only a few flakes from panning to my name, but Aluminium makes a decent analogue and I’ll try that if I get something working. It’s reputation says so, just that it’s power and type means the range is going to be limited to at most about 10 inches, by memory.
Update ya later!
-Jesse
I learnt another mineral name today, watching a program called “Aussie Gold Hunters”.
Not quite an acronym but close… leverite.
They dug up a few tons of ore and sampled it, finding an average of 2 grams per tonne. They needed 3 grams per tonne to cover costs (about $100 per tonne) so they pronounced what they had dug up to be leverite, as in “leave her right there” as opposed to sending it for processing.
 L.L
L.L